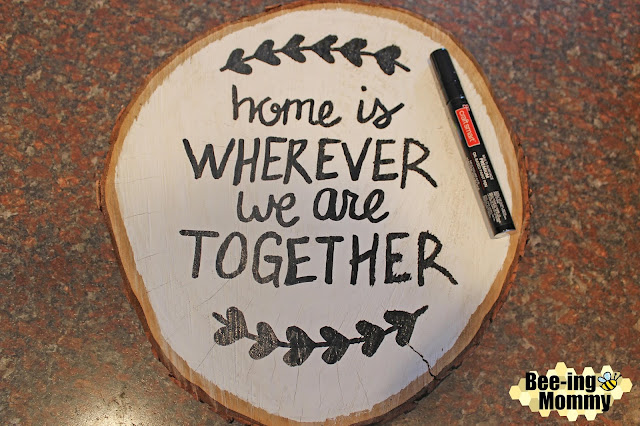
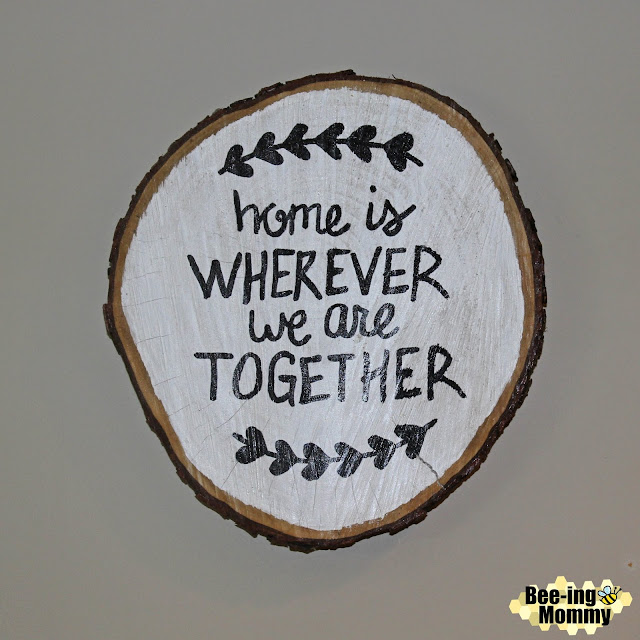
For our wedding we used wood slices for the table centerpieces. We also had bigger wood slices cut to set the food and cake on. We never got rid of them just incase someone else wanted to use them but they have been collecting dust for over two years so I figured it was time to do something with them.
Below is a picture of how we used the wood slices for table centerpieces.
Of coarse the number one idea that popped in my head was fire wood but I decided to get crafty and paint a couple of them, turning the wood slices into cute wall decor and holiday decorations. The possibilities are endless due to the number of sayings you can paint onto the wood slices. So far I have only painted the four pictured (one is reversible) but my plan is to eventually turn some of them into pumpkins or santa belts and add cute sayings to a few more of them.

Supplies:
- Wood Slice - these were hand cut but they sell them at crafts stores
- Sander
- Paint - I used acrylic paint
- Paint Brush
- Paint Pen
- Sealer - Mod Podge, Wood Sealer, Clear Spray Gloss
- Hanger and Hammer - I used sawtooth hangers
How To:
1. Buy or cut a wood slice the size you like. If you cut your own wood slice, sand the front and back of the wood slice with a sander to make it smooth. This will make it easier to paint.
2. Paint your wood slice a solid color. I poured the paint directly onto the wood slice and spread it using a sponge brush. You can use any paint brush you would like. I created a circle with the paint, leaving some of the edge showing. This helps keep the wood slice feel. You can paint all the way to the edge but it will blend in more with your background. Let Dry.
3. Add a saying. I used a black paint pen to write my saying on the wood.
The white paint pen (used on another slice) didn't show up very well on the black so I had hand paint it using white paint and a thin paint brush.
If you aren't good at writing different fonts, you can try one of the transfer methods used on these blogs:
- Growth Chart Ruler Tutorial (Pencil Transfer)
- Pallet Welcome Sign (Pen Pressed Transfer)
The transfer methods didn't really work on the wood I had though because it was to hard for the pen pressed transfer and the pencil outline transfer barely showed up, especially on the black background so hopefully you have better luck than I did if you use a transfer method. I'm just glad I can free hand a little so I made it work!
4. Coat with a wood sealer. Let Dry. I used Mod Podge but you can use whatever you have on hand. Make sure that your sealer can be used on oil base paint or the words (paint pen) may run.
5. Add a Hanger to the back. I used a sawtooth hanger and gently hammered it into the back, top, center of my wood slices.
You can also drill holes in the wood and hang the wood slice using ribbon or twine.
You can also drill holes in the wood and hang the wood slice using ribbon or twine.
Or you can display your wood slice using a stand (see below) or by propping it up against the wall.
Below are some wood slice decorations I made:
I was very satisfied with how the wood slices turned out once I painted them and I can't wait to make more! The wood slice wall decoration would make a great addition to anybody's home especially if you are going for a rustic theme. They are great holiday decorations, outdoor decorations and a great gift idea. The possibilities are endless because you can personalize them anyway you want or change up the display by using a different hanging technique. Comment below with what you put on your wood slice!


0 Comments