Last Halloween my family and I went with Safari themed costumes. All the costumes were pretty easy to make and ended up looking super cute when we were all together. Keep scrolling to see our family costume!
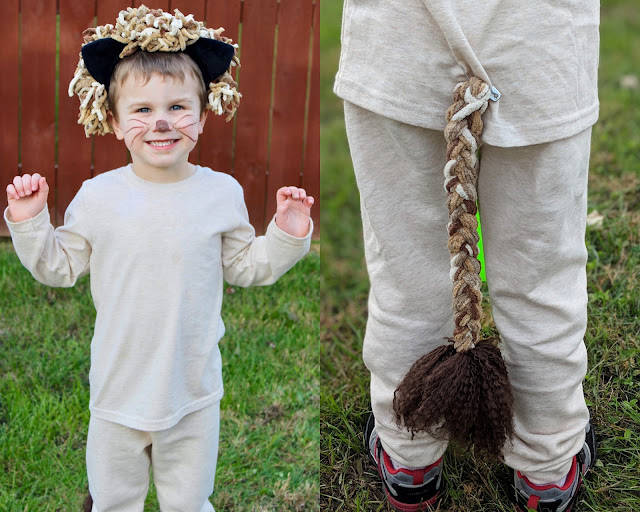
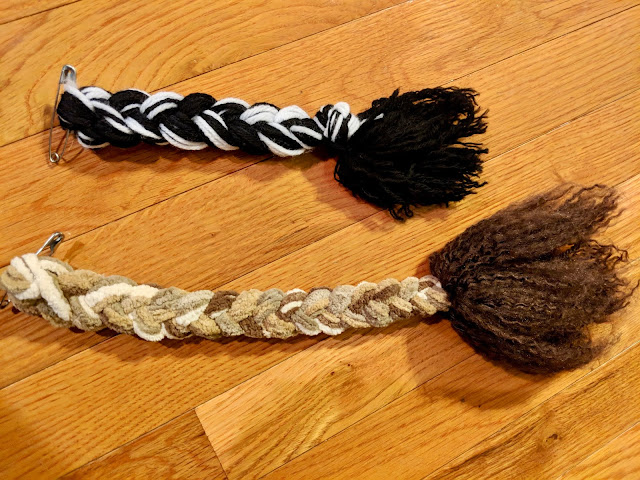
My boys went as a Lion and a Zebra. Both their costumes were not complete without a tail and what better way to add to a DIY costume than to make their tails.
***Check out my DIY Zebra Costume HERE!***
To the best of my knowledge I have never made an animal tail or at least not out of yarn so this was a first for me. I'm sure there are several different ways to make an animal tail from using paper to sewing one like I did for Sully in our Monster's Inc. themed costumes to just tying on some ribbon and cardboard but in this case I made the boy's animal tails out of yarn.
If you don't feel like being crafty, you can usually find ear/tail sets out around Halloween but I didn't have any luck finding what I wanted and I already had most of the supplies so I was easier for me to make my own.
- Large Safety Pin
- Yarn
- Scissors
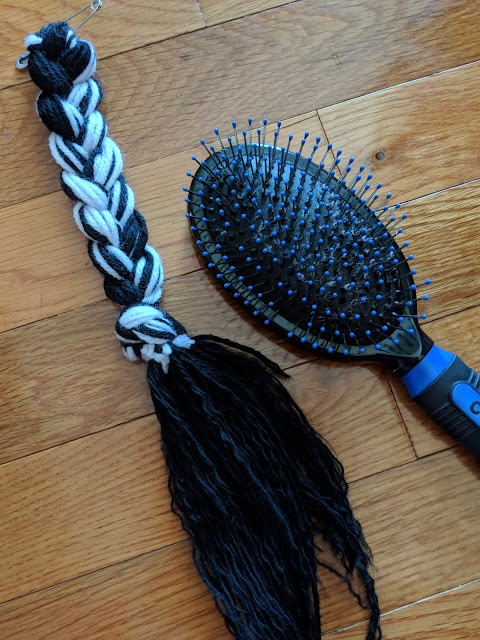
- Hair Brush
How To:
1. Start by cutting the yarn to the length you want the tail to be. You will be braiding the yarn so make sure to cut it a few extra inches. You can always cut the yarn shorter if your tail needs to be shorter.
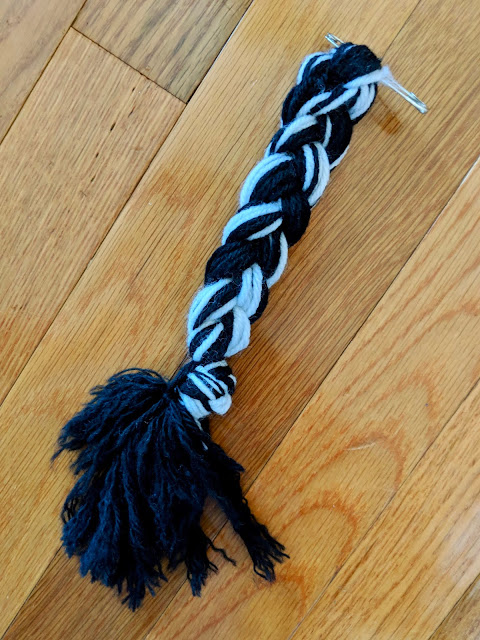
For the Zebra tail I cut the black yarn longer than the white yarn because I wanted the bottom of the tail to be black. You can cut the yarn different lengths like I did but if you forget, it's not a big deal because you can easily add the end of the tail later.
2. String the yarn through the center of the safety pin. Make sure that it is evenly divided on both sides of the safety pin.
3. Fold the yarn over the side of the safety pin and braid it until it is the length you want your tail to be. Tie a knot at the bottom of the braid to hold the yarn together.
4. If you have extra yarn at the bottom or cut the colors a different length like I did for the Zebra tail, you can SKIP TO STEP 6. If your yarn ends at the braid then you need to cut more yarn to make the bottom of your tail.
Cut several pieces of yarn at least 8" long. The more yarn, the fluffier the tail will be.
5. Tie the yarn just above the knot at the end of the braid. Tie the yarn in different directions so that it covers the entire knot. You want to use regular yarn for this part.
The yarn pictured is after it was brushed (step 6) but it shows it tied above the knot.

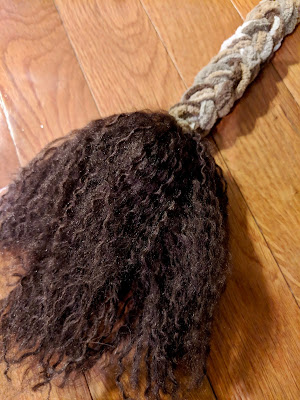
6. Using a hair brush, carefully brush the yarn at the bottom of your tail. You want to use the hair brush to basically unravel the yarn so that if becomes fluffy.
Some of the yarn may come off but it is okay. Don't brush it to hard or over do it.
If you don't like the thickness of the end of the tail or pulled out to much of the yarn you can easily cut and add more yarn to the bottom of the tail until it is fluffy enough for you. See step 5.
7. Using scissors, trim the bottom of the brushed yarn to make it even.
8. Pair the tail with a pair of animal ears and carefully pin the tail to the back of the person wearing the costume's shirt or pants and you are done!


I pinned the tails to my boys shirts so that they weren't sitting on the safety pin. Plus I left their shirts untucked so you could see the tail better pinned to their shirts than their pants.
You can make the animal tails any length or color you want. I prefer the look of multi-colored tails because it gives the tail more texture, making it easier to see and more realistic. You can use this tutorial to make several different types of animal tails - Cow, Giraffe, Cheetah, Tiger, Lion, Zebra. Just change the color scheme, the length and the fluffiness of the bottom and you are set!
You can even make a full fluffy tail for a Fox, Wolf, Squirrel, Raccoon, Cat or Horse costume by tying yarn up the entire braid and carefully brushing it out.
If you want your tail to bend, you can weave a thin piece of wire through the middle of the tail then bend the wire to the position you want your tail to be in. Just make sure you cover the ends so the wire doesn't poke you or whoever is wearing the tail.
These yarn animal tails are pretty easy to make as long as you know how to braid. If you don't know how to braid, I'm sure there are several tutorials out there you can follow! Basically all you do is cut some yarn, braid it and brush out the excess yarn at the bottom. These yarn animal tails are a great addition to any animal costume whether it's for Halloween, a school play or just because.
Comment below with what animal tail you made!
Comment below with what animal tail you made!
If you haven't already, go check out our Safari Themed Family Halloween Costume to see how I made all the costumes.

Pin for later:







4 Comments
What a great activity! I run nature classes for children, would it be ok to share this with my students? Giving you full credit of course!
ReplyDeleteHow fun!!! Yes, the tutorial is there to help others know how to make it. If it is another blog post, please link back to me. I'd love to see it when you are done!
Deletelove this! Where did you get the multicolored brown yarn? I'm trying to make cougar tails.
ReplyDeleteI found it at Walmart years ago. I believe it was Bernat Blanket Big Ball Yarn for around $6 at the time. I have recently seen similar yarn at Ollies. Michaels is another good place to check for yarn. Good Luck!
Delete